Wednesday, November 28, 2012

(Updated) Wanshan Ronpin Doll

Hello, Fili here :)


Let's greet this little guy, his name is Maruyama Ryuhei, one of the member of Kanjani8, my favorite group :)
He's in his Wanshan Ronpin costume, one of his solo song. I  was inspired to make this doll when I had lots of scrap jersey fabrics. I really like the costume and after a while, I finally had a chance to make it!


Firstly, I made a sketch of his costume. I simplified some parts of the costume because of the materials limitation and my limited skill that can't reach some of the details. I started this project about two months ago. It took quite a long time because I couldn't get all the parts and materials in the same time. Not to mention I had other projects while completing this.

Unfortunately there is some problems occurred: his left leg joint is perforated. I misplaced the leg, it sewn it higher than where it should be, so it had a small hole when I turn it outside.


(Ps: Sorry for the crappy images, my pocket camera can't handle close up shoot very well)

I didn't remake the body part because every time I redo something, there's always a change in it, even though I use the same pattern! Fortunately, after almost two months, the hole is not getting bigger, it stays like that.

Details:

'Maru' Kanji in his back


Without his cap
I really enjoy my time making this doll. His unique costume is really worth to try :)

UPDATED :

His measures:
length (w/o his cap) = 20"
width (body w/o hands) = 6"
hand lenght = 6"

aaand he have a healthy leg now! no more holes in it :D
I get a suggestion to fix it with hidden stitch from Maye, after I try it turns out too tight because the stuff recessive, I must take out some of the stuff. While doing that the idea to sew it come, honestly my hidden stitch skill is still poor, the stitch was exposed and not so neat. His height reduced about 2 cm after that


For Maye, thank you so much you really give me a courage ;)


Cheers,

Fili&Lino

Friday, November 23, 2012

Custom Order : Book Cover

Hello everyone, we are back with a collaboration project :D

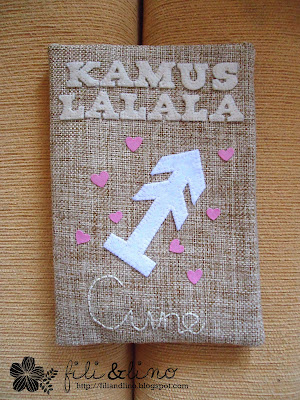
We received an order to make a book cover this time. The fabric is a combination between a very soft burlap and cotton.

Front

Our customers designed it by themselves for their birthday friend, cute isn't it? :)  It's always a pleasure  to receive a custom order, especially when the customer designed it by themselves. We became a team and discussed the project together to get the best result.

Back


We hope the birthday friend will love it :)


See you next time,

Fili&Lino

Monday, November 12, 2012

Recycled: Father old vest

Hello it's Fili again :)


I posted this on my private journal but since it was friends-locked, I'll post it again here. I recycled my father old vest into a teddy bear one year ago. I was a *little* bad girl at that time: I didn't ask his permission, so when I started cut the vest, my father saw. He was sighing so deeply, he said "I had a lot of memories in it". After this incident, I got a lesson to not cut someone's clothes before asking their permission.

I love the colours and the stripe pattern. Since the vest was no longer worn by us *it was inherited from my father to his son and daughter, including me*, so I decided to make a teddy bear from it. It wasn't very neat. It was one of my earliest teddy bear that I made it's not that I'm already good at it now but at least it's neater now than before   ^^;


Sorry there was no picture of the vest. I rarely took any picture of the process at that time. Because the vest is not really big so I added other fabric to complete the parts. I think I choose the wrong colour because it's not really matched with the vest.


Jointed hands and legs.


For the final touch, I added a ribbon to the bear.

That's it :)v

Fili&Lino

Giveaway Competition Part 2: The Winners

Finally we got the result!

We got one name using http://andrew.hedges.name/experiments/random/  from total 33 entries :)

and the winner is...

*drumroll*

Sally Salsabila aka @sally_salsabila

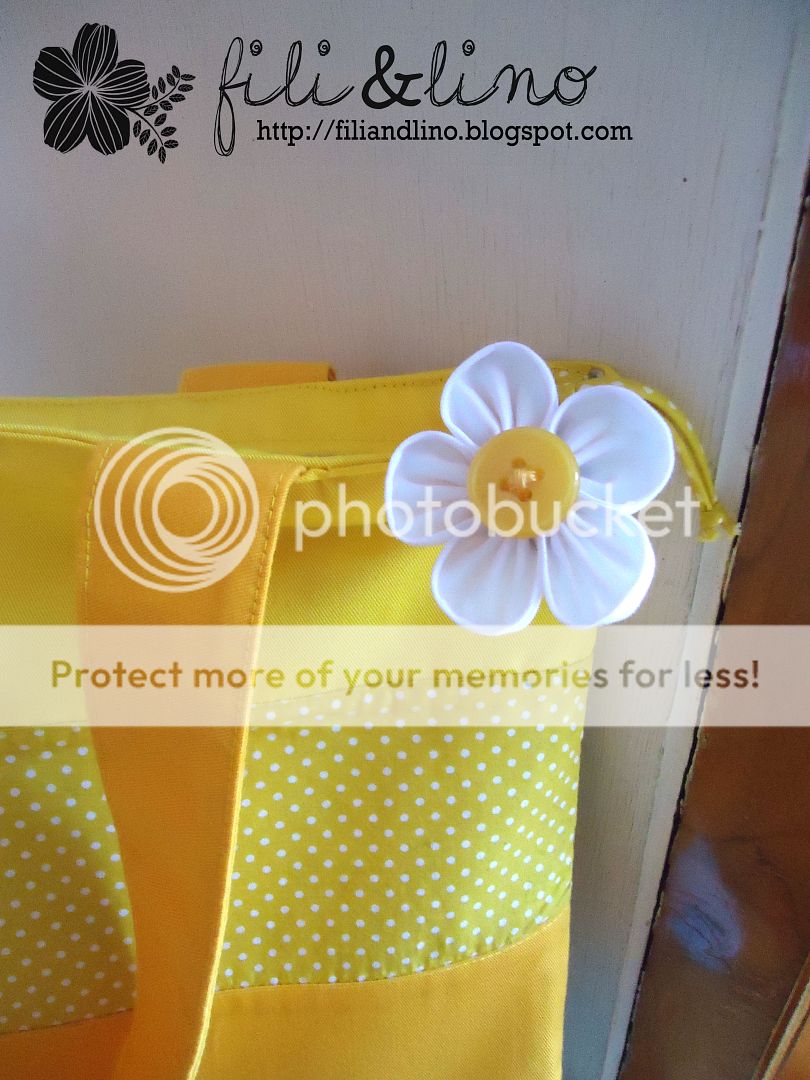
Congrats for Sally who win a set of a yellow stripe bag, purse and mobile phone case :D

And the winner for the special prize, for promoted us in wittiest, funniest, coolest promotional ad words/tag lines is...

*drumroll*

Almaida Rangkuti aka @almaidaaa

Congrats for Alma who win a mini plaid teddy bear :D

Congratulations for the winners *throws confetti* :D
and don't forget to contact us for the most convenient ways to collect your prizes.

Thank you so much for all friends who participated in this competition and help us promote Fili&Lino :)

See you next time :D

Lots of love,

Fili&Lino


Saturday, November 10, 2012

Custom Order : Miss Rabbit Plushie

Hello, it's Fili here!

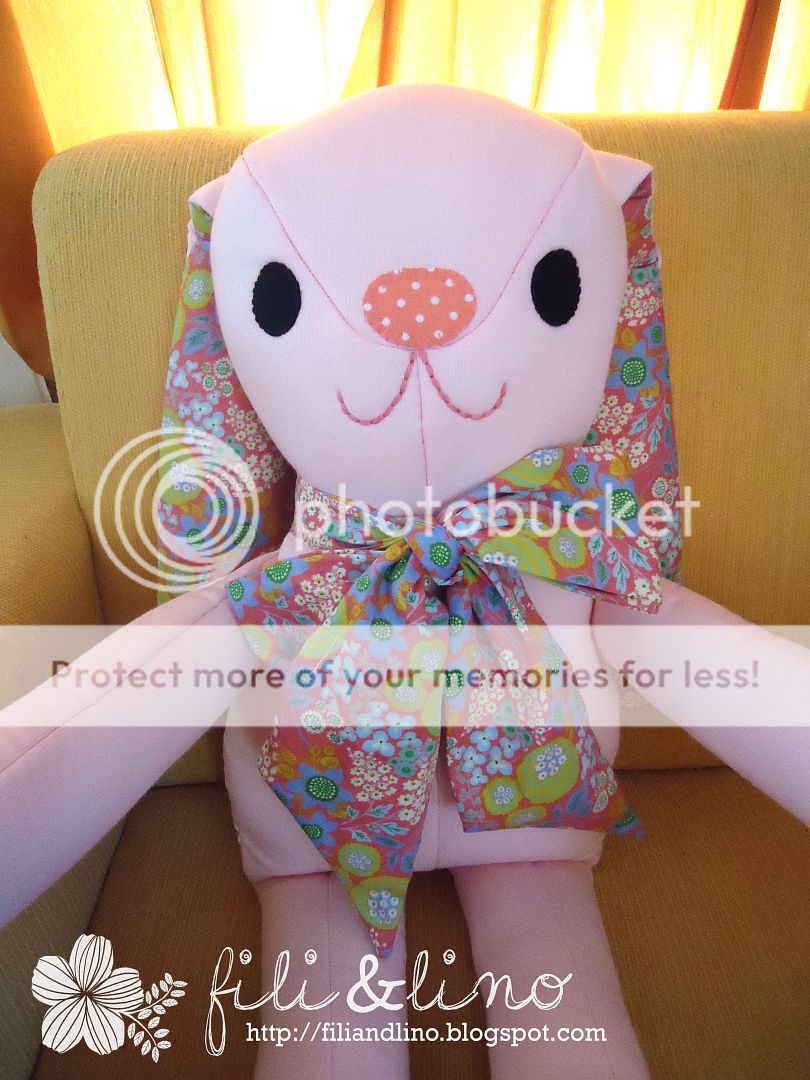
About a week ago I received a custom order from my friend. She ordered a rabbit plushie for her friend's birthday :)

She is in love with flowery fabric that I used for the recycled jeans bag. She requested to add the fabric for this plushie.

Close up! Cheese :Dv


The tail.


I already sent Miss rabbit this morning. I hope the birthday friend will love it. Please love and take care of her :')

See you later :)

Fili&Lino

Wednesday, November 7, 2012

Fili&Lino Giveaway Competition 2

The time for second competition has come :D

This time, the prize is a set of a stripe yellow tote bag, purse and a mobile phone case.


and a special prize for people with an interesting and creative promotion words

We changed the rule a little bit, so please read carefully :)

Who are eligible?

Everyone, where ever you are. This competition is open worldwide.

How?

Promote Fili&Lino in social media.

When?

This competition is open for five days, from Wednesday, 7 November 2012 - 11 November 2012, 23:59 GMT+07:00. Please be careful of the time zone.

The details

1. Promote Fili&Lino in any social media. How? For example (1) "Like" our giveaway competition photo album in our facebook or "like" our facebook page, (2) Follow our twitter and retweet the tweet abour our competition, (3) All kind of promotion in another social media.

- No matter how much you "retweet" "like" "reblog" or others, one social media will be counted as one entry. 
- If you are a past customer of Fili&Lino, you will automatically have one entry
- If you purchase Fili&Lino product within the time frame, you will also have additional one entry
- If you decide to only have one entry (to promote Fili&Lino in one social media) that is perfectly fine.    However, even if you are our customer and already have an entry, you will still need to do the promotion.
- If you decide to promote in other social media, please let us know by sending us e-mail/comment our facebook page/tweet to us. We can only track retweet/mentions on twitter and like on facebook.

2. If you decided to add your own words to promote Fili&Lino, there will be a special prize for people who make the most interesting and creative promotional ad words/tag lines.

How to decide the winner

Similar to previous competition, each entry name will be put in http://www.random.org/lists/ to generate the random number, then a number will be generated from  http://andrew.hedges.name/experiments/random/ to have the winner.

Get ready... and GO!

Cheers,

Fili&Lino

Tuesday, November 6, 2012

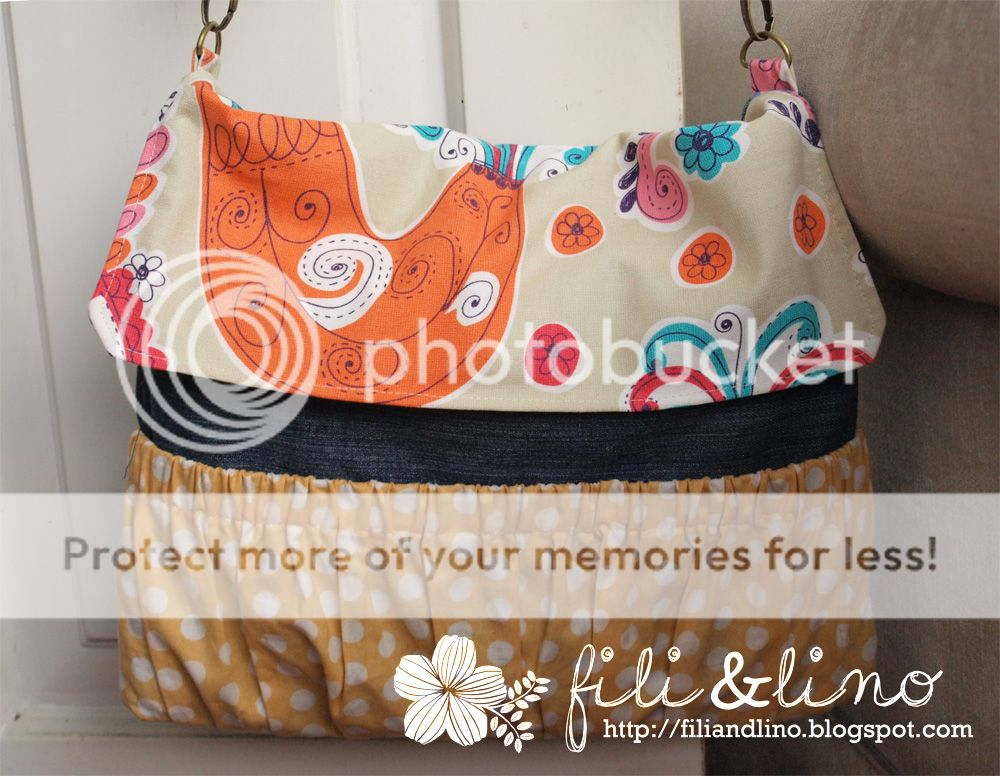
Laptop Case from Old Jeans and Pajamas

My computer is in need of a (cute) laptop case. With hundreds of laptop case tutorials that I found on the internet, I decided to make one of it. My laptop case is just an ordinary case. However, it's special to me because I used my already torn fav jeans and pajama. I also fell in love with the fabric combination, which makes it more special for me.

For the fastener, I used a black long velcro on the flap. I also added some pocket with elastic on the front so I can put the power supply and other stuffs in it. Unfortunately, the pocket is just too low. When I used the bag, I was afraid that the stuffs that I put inside the pocket will come out. Thank God it didn't, but still... For the strap, I only use the usual webbing that I always use. However, I attach it to a clasp, so I can use the case without the strap.

Yesterday, I used this case a bag. It's possible, but the shape didn't turn out very good. It seems I used the wrong foam for the interfacing. And if I want to make it as a bag too, I should make a small pocket inside. I can't live without inside pocket! I need a safe place where I can put my small things easily.

So, here it is, Lino's not very new laptop case :D


Cheers!

Fili&Lino

Thursday, November 1, 2012

And the winners are......

So we finally got the winner for our first giveaway competition. We would love to say thanks to all friends who already join the competition and help us promote Fili&Lino. We received tremendous amount of free promotions from friends all over the globe. Unfortunately, not all of them send us an e-mail to report their entries and answer the question, thus we couldn't put their names to the entry list.

However, the competition already closed and we already have the winners for this competition.

First, the winner with the most entries goes to......

With promotion in four different social media and 50 promotion tweets (yes, 50!! We count them all!), the winner of a head band and a hair clip goes to.....

*drumroll*

ALMAIDA RANGKUTI aka @almaidaaa!!!!!

Congratulations girl <3

Second, the lucky girl that random.org and http://andrew.hedges.name/experiments/random/ choose to win our set of bag, pencil case and phone case is.....

*drumroll*

AHADIAH NUR MAISAROH aka @sasaahadiah!!!!

Congratulations to all winners. Please contact us for the most convenient way to collect your prizes.

Muchas Gracias. See you again in our next competition that will be held next week.

Lots of love,

Fili&Lino

Experiment Corner : DIY Making Quotation/Letters Applique


  • Hello, welcome to Fili's experiment corner :)

    Experiment corner is a place where I try something new for the first time. There might be some miscalculation, changes and mistakes within the process. 

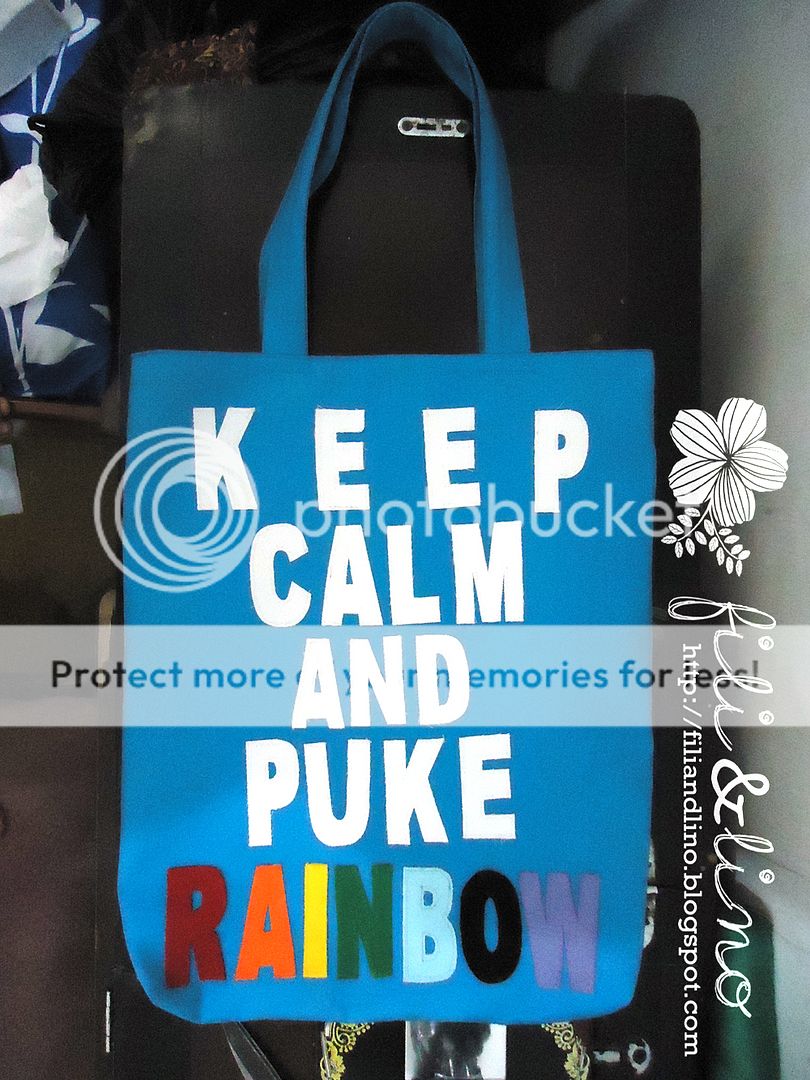
    My plan was to make a tote bag with quotes on it. Unfortunately, I don't know how to do screen printing nor have the tools to do that. Instead, I planned to use some fabrics to make the quotes. I planned to make a tutorial that includes the making of the tote bag. Alas, when I checked the photos that I prepared for this tutorial, it required more than 50 images and a superbly long entry. Thus, I cut it out and focus only to the making of the quotation/letter applique.


    • Please have your seat and let's start the adventure :)

    Design


    Materials:

    -  plain cream coloured fabric
    -  medium weight fusible interfacing
    -  red, yellow, green and white felt/jersey/knit fabric
    -  pin
    -  pencil
    -  scissors
    -  ruler*

    * : Additional material

    Process

    1. Choose your quotations/words/letters. I used one of my favourite quotes "Keep Calm and Puke Rainbow Continuously"
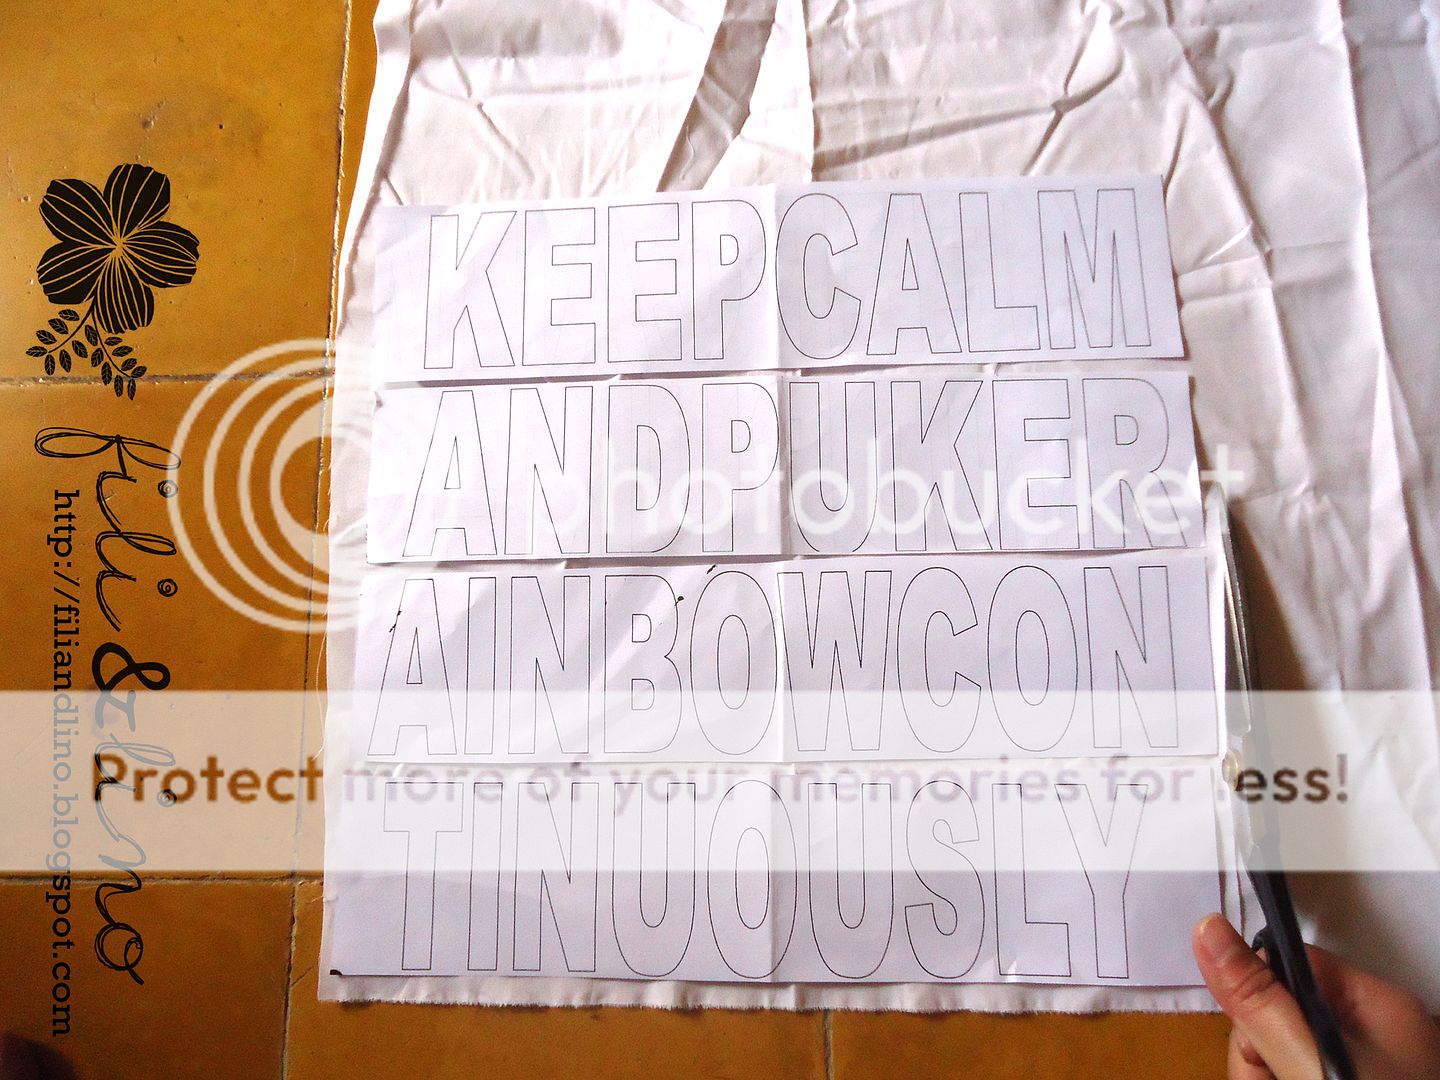
    2. Use WordArt at MS Word (or other programmes that you know) to make the template in the font size that you desired.


    Use the simple WordArt that only have the outline of the font since we only need the outer shape. Besides, we also save the environment by saving your ink :). Paper size: A4, Font: Arial (or any other font that you like). I put the same amount of letters in every line. I also didn't add any space between the words. Unfortunately,  the space between the lines are quite big and I didn't know how to fix this (as you can see, I'm not very good with lots of computer programmes, including this one). I made the font size as big as the page can accommodate. 
  • (Note: This reckless prediction will cause a trouble latter ^^;)


  • 3. Cut the letters per line.


    4. Decide which colour that you want for which words/letters. In this tutorial. I decided to use cream coloured fabric for the words. Arrange these letters on top of the cream fabric. Cut the fabrics in the same size of the overall letters. 


    5. Cut the interfacing in the same size as the cream fabric that had just been cut before.


    Before we iron and copied the whole letters into fabric, try to arrange it on top of  your tote bag.
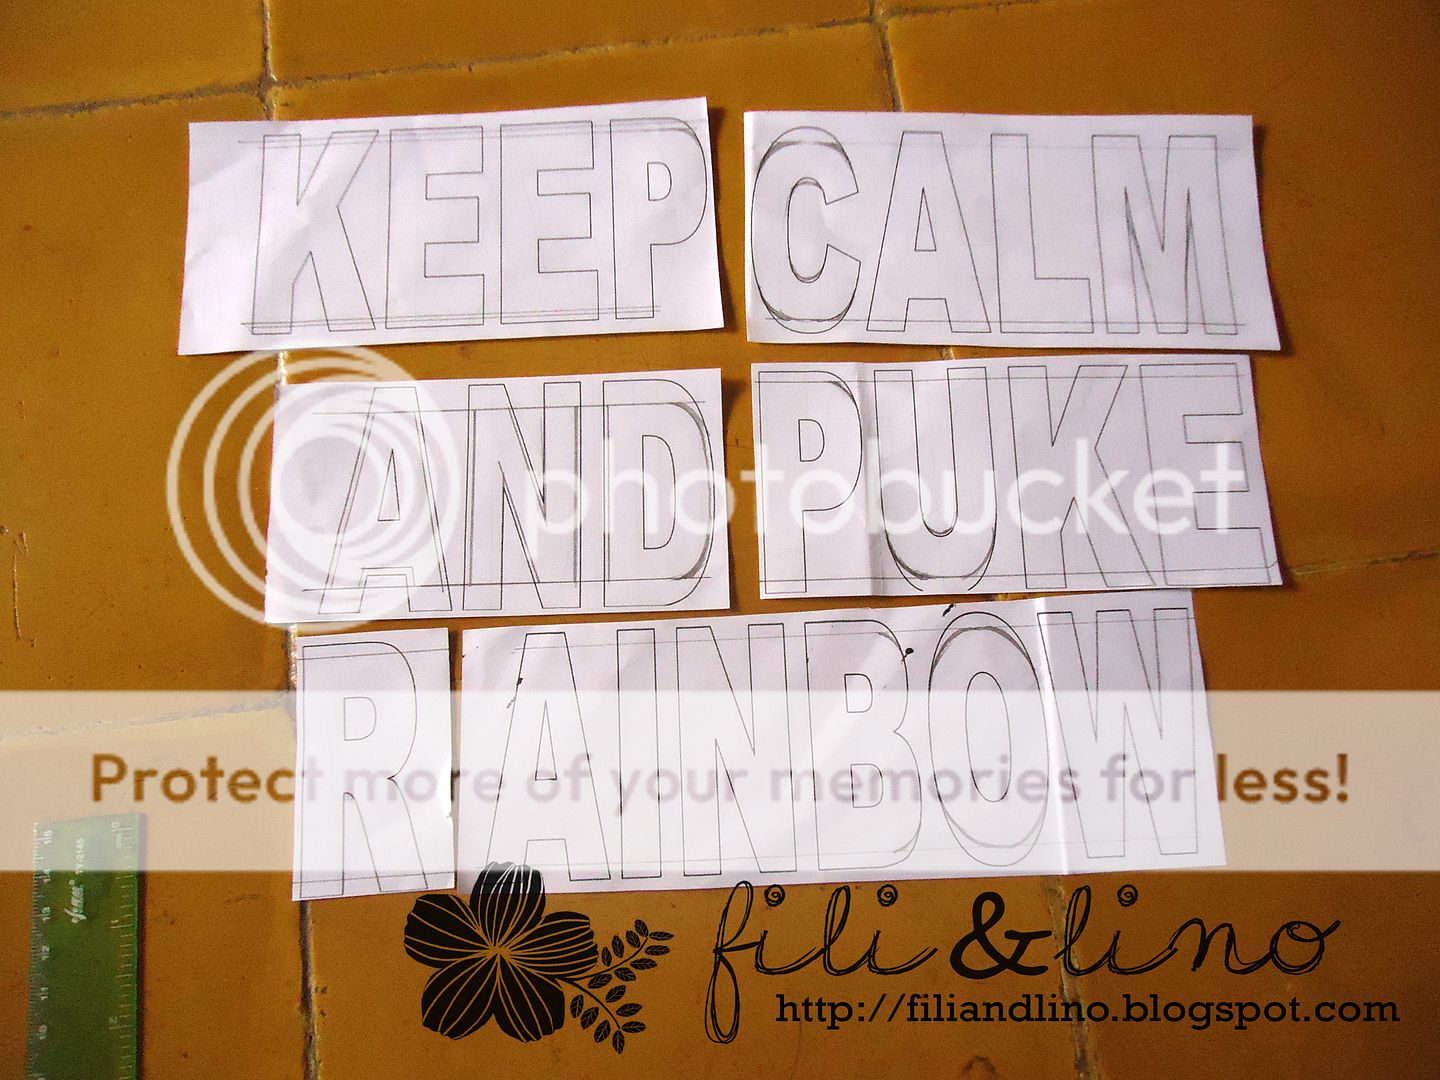
    When I tried it, the letters are too big for the bag so I had to reduce the size of the letters and remove "Continuously". 

    (Note: I reduced the letters manually because I don't have printer in my house, so I added "ruler" as the additional materials)


    Even after I removed the word "Continuously", I still didn't have enough space for the rainbow picture. Thus, I cut each letters 0,5 mm on top and bottom, except for the word "And" (about 1 cm on both top and bottom).


    Unfortunately the condition didn't change that much, even after I reduced the letters' size. So I decided to change the design a bit. I removed the rainbow icon. Instead, I would make a full colour "Rainbow" word. The interesting fact is, "Rainbow" word have seven letters, the same number as rainbow colours ;)

    Let's renew the process 

      1. Collect a colourful scrap fabrics. I choose jersey because it doesn't fray
  • . Cut the scrap fabric into rectangle shape, as big as each letter.


  • 2. Cut the interfacing that already prepared before into two parts, one for a cream fabric and one for the colourful scrap fabrics.


    3. Iron the fusible interfacing to the fabrics.


4. Cut each printed letters. Trace each letter in the back of interfaced fabrics (it's better if you use pencil instead). Place each letter in the reverse position.


5. Cut each letter and arrange it on top of tote bag main part. Pin it.


6. Remove pin and sew the letter one by one. Don't remove all the pins at the same time or the position will change. Always recheck the position of the letters before you sew it.


Aaaaaand done :D


Last note:

Next time, I must use fabric that is not easily fray. It doesn't look really good when the threads are all over the place. Fortunately there was no problem a jerseys or knits. They keep in good shape even after a while :) However, if you want to have a little bit grunge and natural look, you can always use cotton that lined with fusible interfacing. It is fraying, but not much since the fusible interfacing holds the fabrics. 


That's it, thank you for reading this long entry :)

I hope you enjoy it and I'll be very happy if you try this experiment by yourself. You always can inform me how your experiment goes :)b.

Have fun, see you next time!

Fili